Edit DayZ building loot positions in 3D
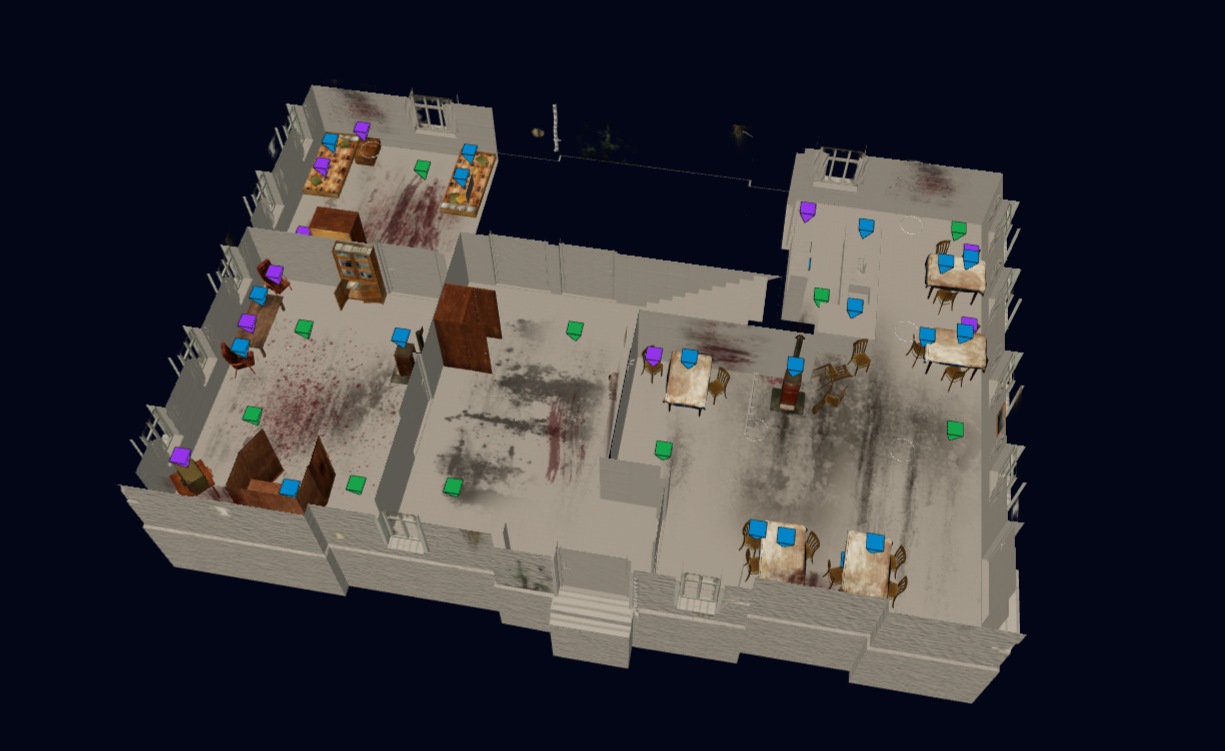
Open up a building, see where loot spawns, and add or move points on the model. Review your changes before exporting mapgroupproto.xml.
Included with Platinum.
From building model to mission XML
-
Open a loot group
Open CE Loot Groups in your instance and select a building. Start with the vanilla loot group for a supported map, or import your mission’s
mapgrouppos.xmlandmapgroupproto.xml. -
Place and check points
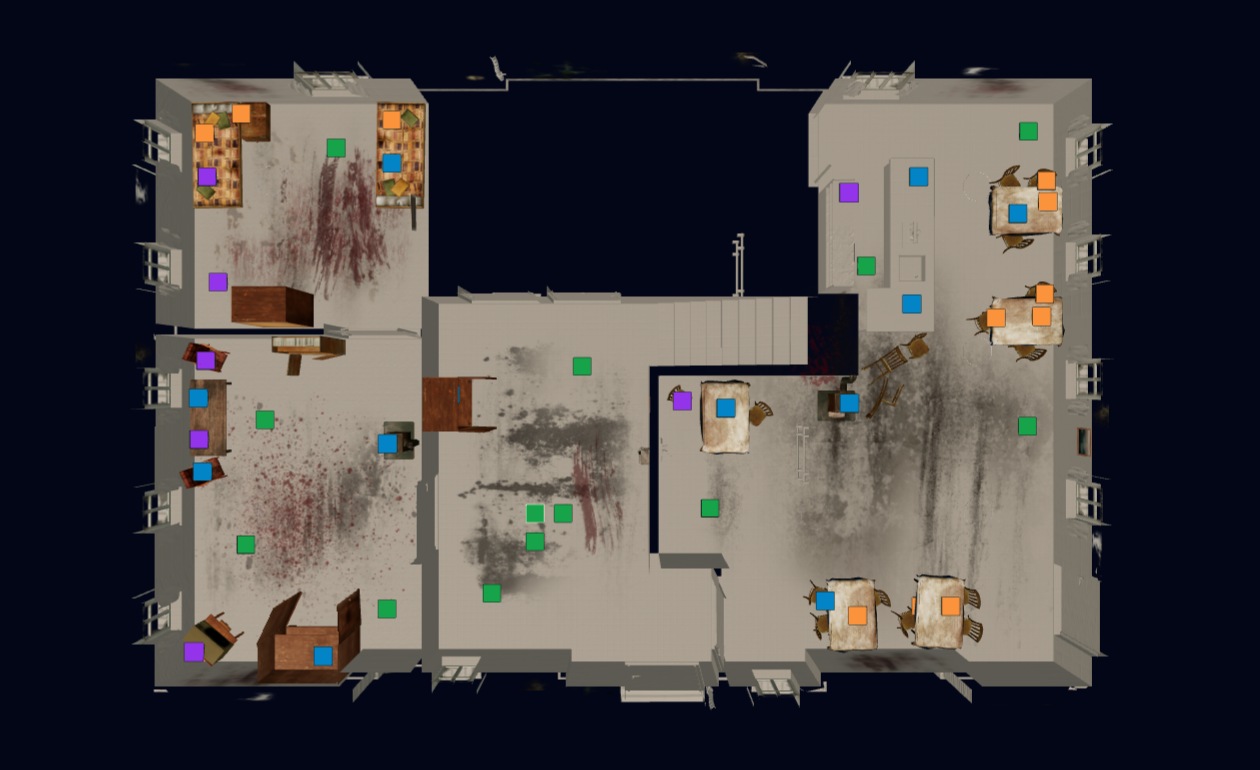
Switch between orbit and top views. Use Cutaway and the slice height to see inside, then place points on the surfaces you choose and audit the layout.
-
Export your XML
Download the selected building group as XML. With your mission XML stored in DZconfig, download a merged
mapgroupproto.xmlor save the edits to your instance.
Edits to a building’s loot group apply to every placement of that building class in your mission.
Fine-tune a loot point
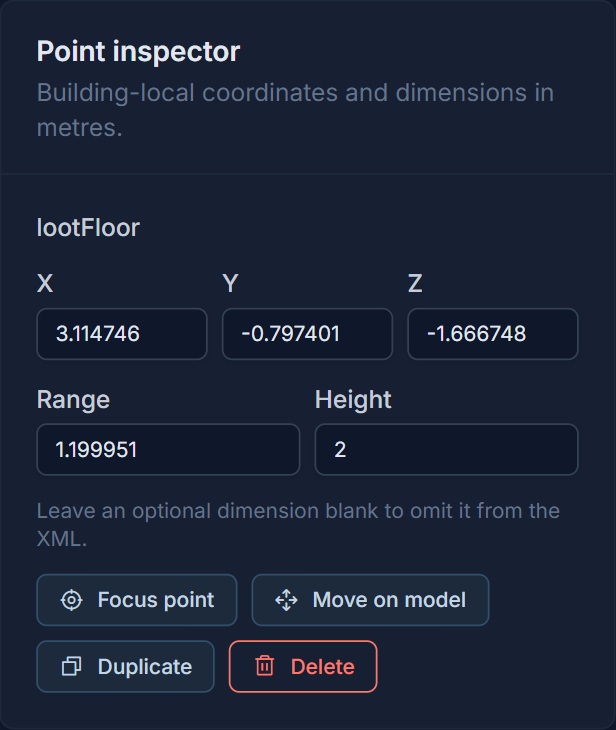
Select a point and move it on the model. In the Point inspector, edit its building-local X, Y and Z coordinates, range and height in metres.
Generate and audit placements
Set how many points to add and pick a suitable surface in the 3D model. Run Audit points to flag floating points and overlapping spawn volumes before exporting.
Open the 3D Loot Point Editor
In your DZconfig instance, go to CE Loot Groups and choose a building.